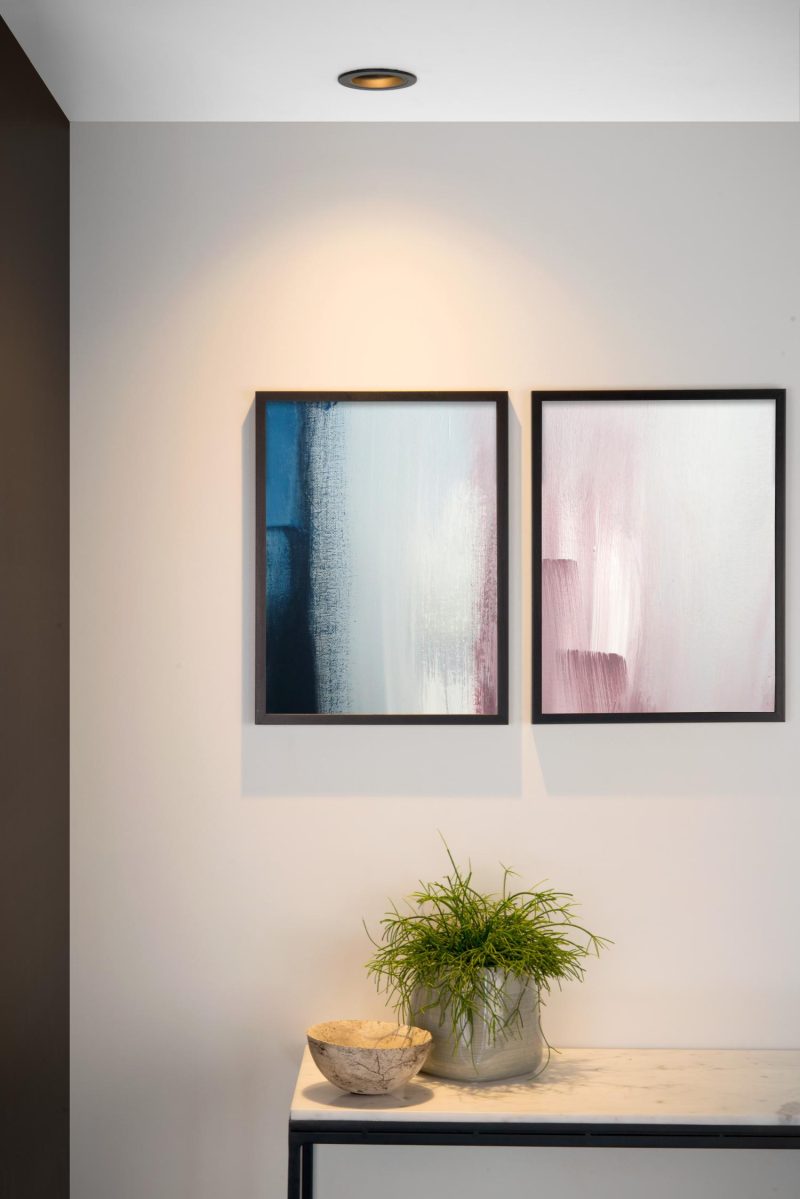
The spacing between spotlights follows from the beam angle and the height above the surface you want to light. A spotlight with a 36-degree beam 1.8 m above a table makes a pool of light about 1.2 m wide there; spotlights placed that far apart complement each other to give even light. Keep half that distance from the wall, or less if you want to light the wall itself. Use spotlights mainly along walls and above work surfaces, not as a grid above the floor, and before you cut, check the recess depth and whether the spotlight may come into contact with insulation.
How do you calculate the spacing between spotlights?
Every spotlight creates a cone of light. How wide that cone is depends on two things: the beam angle of the spotlight and the distance to the surface on which the light falls. The beam angle is defined in the European ecodesign regulation 2019/2020 as the angle between the two lines along which the luminous intensity is still 50 per cent of that at the centre of the beam.
From this follows a simple formula for the width of the pool of light:
width = 2 × height × tan(beam angle ÷ 2)
The height is the distance between the spotlight and the surface that needs to be lit evenly: the floor, or a work surface at around 75 to 80 cm. If you place the spotlights exactly as far apart as that width, each spotlight still gives half its light at the edge of its pool, and two neighbours complement each other there to give about as much as in the centre. Closer together is fine; further apart gives pools of light with dark bands in between.
| Ceiling height | 24° | 36° | 60° | 90° |
|---|---|---|---|---|
| 2.50 m | 0.72 m | 1.10 m | 1.96 m | 3.40 m |
| 2.60 m | 0.77 m | 1.17 m | 2.08 m | 3.60 m |
| 2.80 m | 0.85 m | 1.30 m | 2.31 m | 4.00 m |
| 3.00 m | 0.94 m | 1.43 m | 2.54 m | 4.40 m |
Two things stand out. Narrow spotlights of 24 to 36 degrees have to be close together to light a room evenly, and you quickly need a lot of them. With wide beams of 90 degrees, the calculated spacing becomes so large that it is not the beam but the amount of light that determines how many spotlights you need.
How many spotlights, and how far apart?
Beam angle
Result
See the spotsHow many spotlights do you need?
You check two things: whether the distribution is right, and whether the amount of light is sufficient.
The distribution
Divide the length and the width of the room by the spacing from the table and round up. That gives the number of rows and the number of spotlights per row. Then distribute them evenly: the spacing between the spotlights becomes the length divided by the number, and the distance to the wall half of that.
The amount of light
A rough estimate of the average illuminance is: number of spotlights × lumens per spotlight × utilisation factor ÷ floor area. The utilisation factor is the share of the light that actually reaches the surface; in a room with light walls you can count on about 0.55 (the same value as in the lumen calculator), in a dark or high room on less. How many lux a room needs can be worked out with the lumen calculator or read in how many lumens per room.
Should you light the whole room with spotlights?
Usually not. Licht.de, the information platform of the German lighting industry, puts it briefly: directed light on the floor makes little sense. Spotlights do their work best close to walls, where they light vertical surfaces, and above places where you do something: the worktop in the kitchen, a cabinet, a painting. A grid of spotlights above the floor mainly lights the floor and leaves the walls dark.
So plan spotlights by function: a row along the wall with cabinets, two above the worktop, one or two adjustable ones on a painting, and the general light with other lights or with wide-beam spotlights. See also living room lighting in layers.
How far from the wall do you place spotlights?
That depends on what you want:
- Even light in the room: half the spacing between the spotlights.
- A wall with scallops of light: 30 to 60 cm from the wall, with an ordinary spotlight. The closer to the wall, the sharper the scallops and the more the texture of brick or plaster stands out.
- An evenly lit wall: with special wall washers. For these, the manufacturer ERCO gives as a rule a distance from the wall of about a third of the ceiling height, and between the fittings at most 1.3 times that distance.
- Above a worktop or cabinet: above the front, not above the walkway, so that you do not work in your own shadow.
Avoid a spotlight directly above the place where someone sits or lies, such as above the sofa or the bed: anyone looking up looks into the light source. And do not position a spotlight so that it is reflected in the TV screen.
Which beam angle do you choose?
For object lighting, licht.de distinguishes between narrow beams of 10 to 30 degrees, for sculptures and small paintings, and wide beams of 30 to 60 degrees, for large canvases.
| Beam angle | Effect | Application |
|---|---|---|
| 10–24° | Narrow, bright pool of light | A sculpture, a plant, a small painting, an accent on the table |
| 30–40° | Medium-wide beam | Accents along a wall, above a worktop, larger paintings |
| 50–60° | Wide beam | General light in smaller rooms, hallway, kitchen |
| 90° and more | Very wide beam, little accent | Even general light with fewer light fittings |
Adjustable or fixed, recessed or surface-mounted?
A fixed spotlight shines straight down and is the calmest choice for general light. An adjustable or tilting spotlight lets you light a wall, a painting or a cabinet; licht.de describes gimbal-mounted recessed spotlights as very easy to adjust and focus. Choose adjustable spotlights along walls, even if you do not yet know what will hang there.
Recessed spotlights require a cavity above the ceiling, usually a suspended ceiling. If you have a concrete ceiling without a cavity, surface-mounted spotlights or a track are the logical choice. A track has the advantage that you can move spotlights later; see track lighting explained.
How deep does the ceiling need to be for recessed spotlights?
For each recessed spotlight, look at two dimensions: the cut-out size, the diameter of the hole you cut in the ceiling, and the recess depth, the space the spotlight needs above it. With a fitting for a separate GU10 bulb, the length of the bulb counts too, and the power supply of a low-voltage spotlight also needs a place. Spotlights with integrated LEDs can be much shallower: there are models with a recess depth of 11 mm. If your ceiling cavity is too shallow, choose such a flat spotlight, a surface-mounted spotlight or a track.
Spotlights in an insulated ceiling
Under an insulated roof or an attic floor, the insulation often lies directly above the ceiling. A spotlight gives off heat, and not every spotlight may come into contact with it. According to the EN 60598 standard, light fittings carry a symbol if no thermally insulating material may lie against the lamp or the power supply, and another if the spotlight may not be mounted directly in normally flammable material, such as a wooden ceiling. Look at those symbols and the manual before you cut. In an insulated ceiling, choose a spotlight that is expressly suitable for it, or a cover intended for that combination.
If you cut through a vapour barrier, you also make a hole in the airtight layer of your roof. Airtight recessed housings exist for this; ask your contractor or installer which one fits.
Which colour temperature, dimmer and lamp base do you choose for spotlights?
Use the same type of bulb with the same colour temperature throughout one room, otherwise you will see the differences side by side on the ceiling. Dim-to-warm spotlights become warmer as you dim them. For dimming, look at the combination of bulb and dimmer; see dimming LED lamps. A spotlight with a GU10 lamp base lets you replace the bulb later; a spotlight with integrated LEDs is often flatter, but you replace the whole fitting when the LED gives up. More about lamp bases in lamp bases explained.
Which mistakes do you see most often with spotlights?
- A grid above the floor instead of spotlights along walls and above work surfaces.
- Narrow spotlights for general light, with pools of light and dark bands in between.
- Spotlights too close to the wall when you do not want scallops of light.
- A spotlight directly above the sofa or the bed.
- Different colour temperatures from bulbs of different brands.
- Forgetting the recess depth or the insulation until the hole has already been cut.
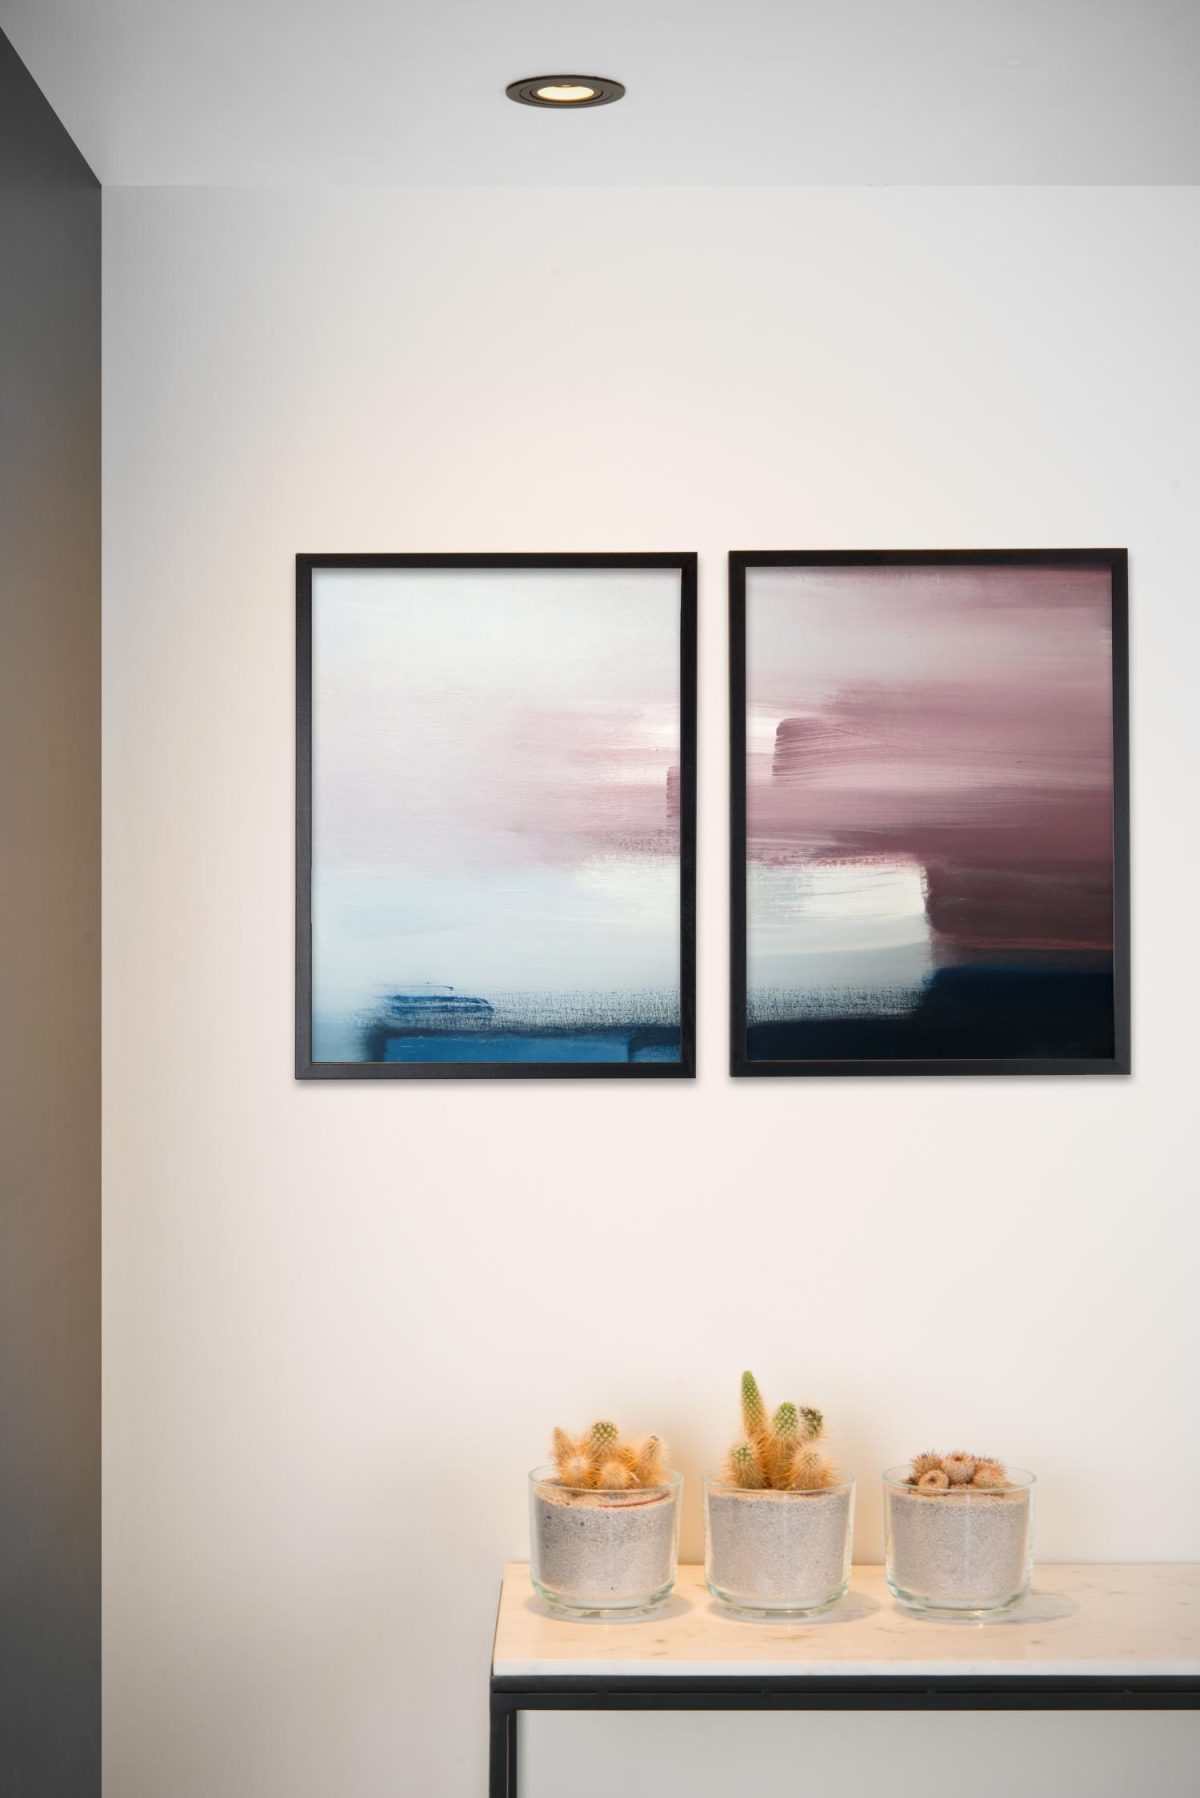
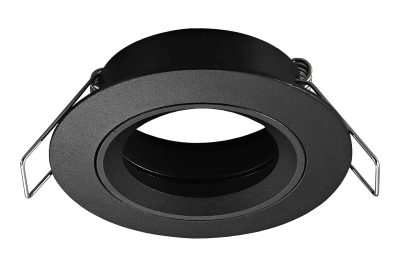
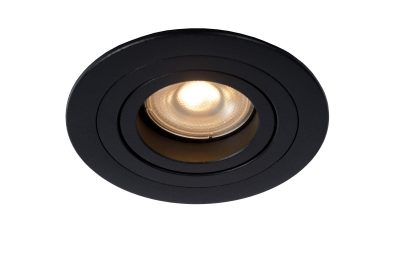
Recessed spotlights: fixed, adjustable and extra shallow
View allFrom a fixed GU10 spotlight to an LED spotlight with a recess depth of 11 mm.
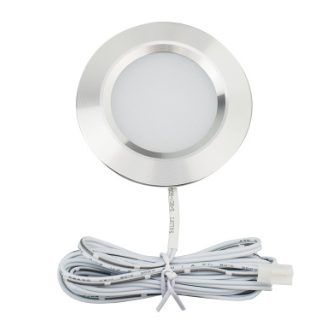
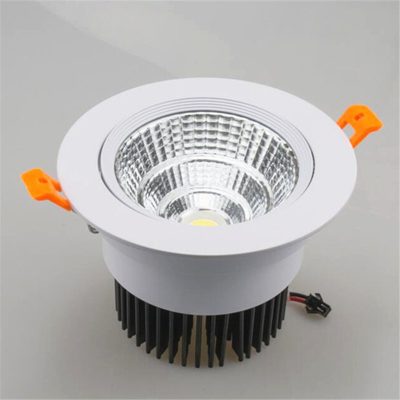
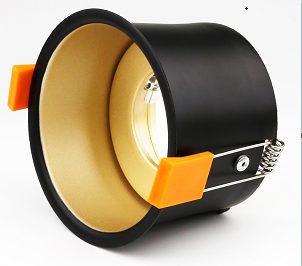
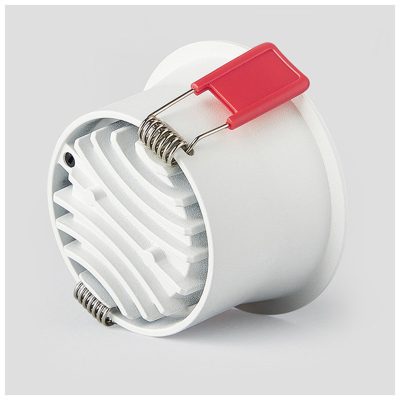 Kinghood Shallow
A recessed spotlight only 5 cm deep, dimmable, with 630 lumens and a choice of colour temperature: for a suspended ceiling with little space above it. Log in for your price
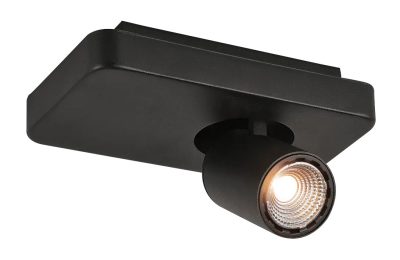
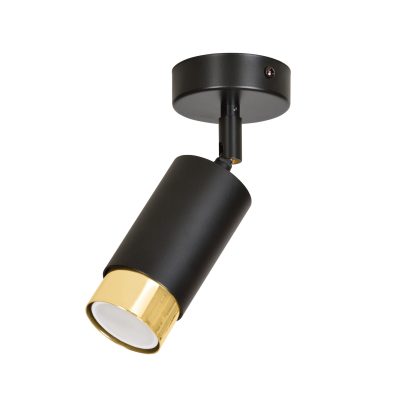
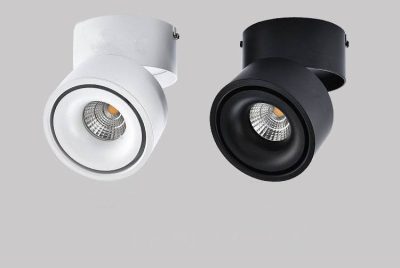
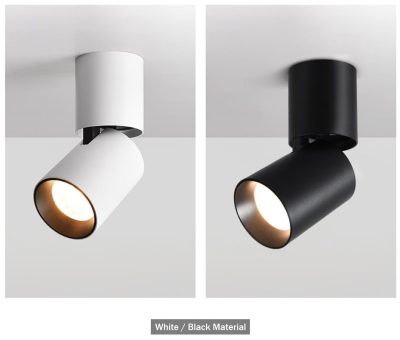
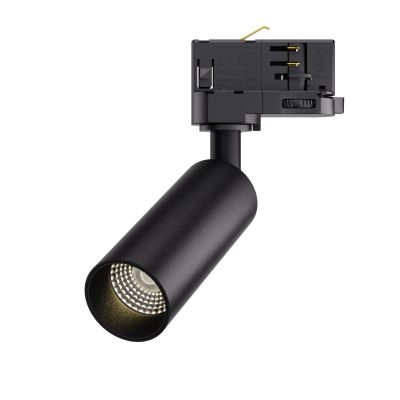
Surface-mounted and cylinder spotlights for a ceiling without a cavity
View allAdjustable or tilting, some dimmable.
Frequently asked questions
How many spotlights do you need per square metre?
There is no fixed number per square metre, because the beam angle, the ceiling height and the lumens per spotlight change everything. In the calculation example above, for 20 m² it ranges from 6 spotlights with a wide beam to 20 with a narrow one. Work out your own room with the calculator at the top.
What is the difference between a spotlight and a downlight?
In the trade the words are used interchangeably. Usually a downlight means a recessed fitting with a wide beam for general light, and a spotlight a smaller light with a narrower, often adjustable beam for accents.
Can I replace existing halogen spotlights with LED?
With 230 V spotlights with a GU10 lamp base, you usually only replace the bulb. With 12 V spotlights with a transformer (MR16), you need to check whether the transformer works with LED; some older transformers have a minimum load that an LED bulb does not reach, resulting in flicker. How much you save is explained in saving with LED.
Where do I put the transformer or driver of a recessed spotlight?
Above the ceiling, next to the spotlight, in a place you can reach again through the spotlight’s hole. Do not put it under the insulation or against the fitting, unless the manual allows it.
Sources
- Regulation (EU) 2019/2020 laying down ecodesign requirements for light sources, Annex I (definition of beam angle), EUR-Lex (2019)
- Auswahl der Komponenten: Tipps für die private Lichtplanung, licht.de (ZVEI)
- Licht für Wohnräume (presentatie bij licht.wissen 14), licht.de (ZVEI) (2020)
- Iku wandfluiter: productinformatie en plaatsingsregels, ERCO (2026)
- Elektrische Sicherheit: Symbole und Kennzeichnungen nach EN 60598, BEGA